 Save to Pinterest
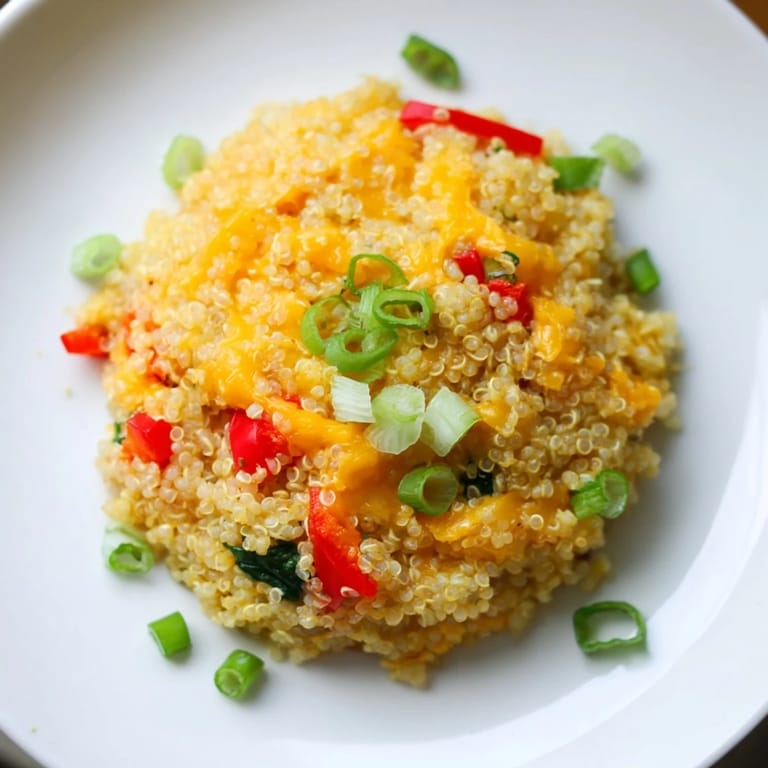
 I discovered these little golden bites by accident on a Tuesday morning when I had leftover quinoa and a handful of vegetables that needed rescuing from the crisper drawer. My daughter was supposed to eat something healthy for school, but she kept rejecting plain quinoa bowls, so I thought, what if I made them bite-sized and crispy? The first batch came out of the oven puffy and golden, and she actually asked for seconds—which never happens. Now they're her go-to snack, and honestly, mine too.
I made these for my book club potluck last spring, and they disappeared in about seven minutes. Someone asked for the recipe before even finishing the first one, which felt like a small victory. What surprised me most was watching everyone—even the people who said they don't like quinoa—coming back for more.
Ingredients
- Cooked quinoa: Use a full cup that's cooled to room temperature; warm quinoa makes the mixture mushy and harder to hold together. I usually cook it the day before.
- Sharp cheddar cheese, shredded: The sharp flavor cuts through the earthiness of quinoa and keeps the bite interesting. Don't use pre-shredded if you can help it—freshly grated melts more evenly.
- Large eggs: These are your binder, so don't skip them or substitute with anything. They also help trap moisture and keep the bites tender.
- Baby spinach: Chop it finely so it distributes evenly and doesn't create dry pockets. Kale and zucchini work beautifully as swaps if that's what you have.
- Red bell pepper: The dicing matters here—tiny pieces mean every bite gets a little bit, and the sweetness balances the cheese perfectly.
- Green onions: The white parts add sharpness, the greens add color. Don't skip the white parts or you lose a layer of flavor.
- Garlic, minced: One clove is gentle enough to not overpower the other flavors, but it adds a savory warmth that ties everything together.
- Gluten-free breadcrumbs: These help bind and add a subtle crispy exterior. If you're not avoiding gluten, regular breadcrumbs work fine and might be slightly less crumbly.
- Salt, black pepper, oregano, and smoked paprika: This combination creates a savory profile that feels complete without being heavy. The smoked paprika is the secret that makes people ask what they're tasting.
Tired of Takeout? 🥡
Get 10 meals you can make faster than delivery arrives. Seriously.
One email. No spam. Unsubscribe anytime.
Instructions
- Preheat and prep your muffin tin:
- Heat the oven to 375°F and grease your mini muffin tin lightly with oil or cooking spray; if you're using paper liners, they'll still benefit from a light coating so nothing sticks. Have everything within arm's reach because once you start mixing, you want to move to baking quickly.
- Combine the foundation ingredients:
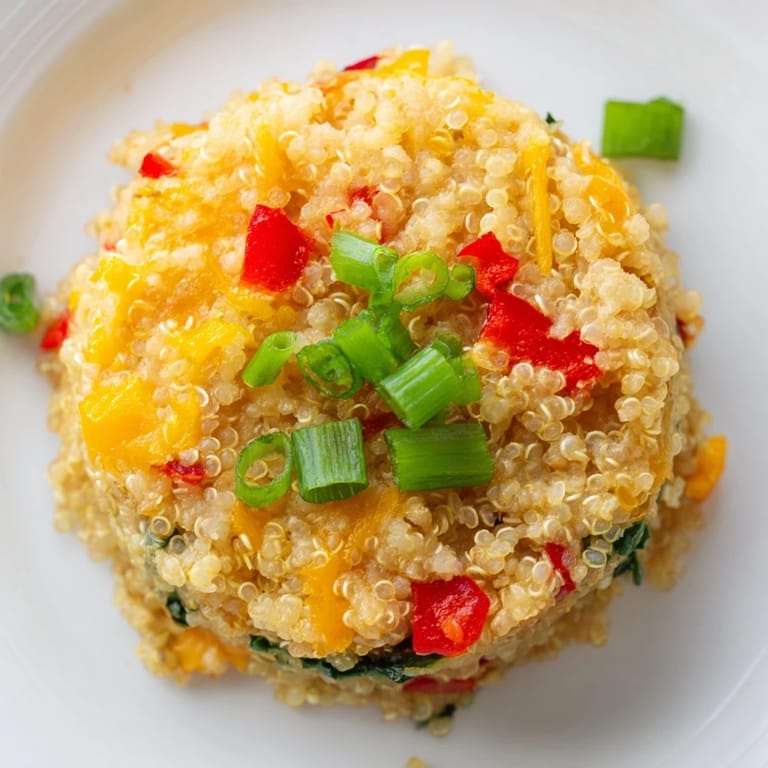
- In a large bowl, mix together the cooled quinoa, shredded cheddar, eggs, spinach, bell pepper, green onions, and minced garlic. You're creating a base here, and it should look textured and chunky, not homogeneous.
- Season and bind:
- Sprinkle in the breadcrumbs, salt, pepper, oregano, and smoked paprika, then mix thoroughly with a sturdy spoon until everything is evenly distributed. You should be able to squeeze a handful and have it hold together loosely.
- Fill the tin with confidence:
- Using a small spoon or ice cream scoop, fill each muffin cup generously, then press down gently with your thumb or the back of the spoon to compact slightly. Don't overpack them, or they'll be too dense; think lightly pressed, not crammed.
- Bake until golden:
- Slide the tin into the oven for 20 to 25 minutes, checking around the 20-minute mark for that golden-brown edge. They're done when the tops feel set and smell irresistibly savory.
- Cool and serve:
- Let them rest in the pan for about 5 minutes so they firm up and release easily, then transfer to a wire rack. They can be eaten warm, room temperature, or even cold straight from the fridge.
 Save to Pinterest
 There was this one afternoon when my neighbor stopped by unexpectedly and I offered her a couple of these bites with coffee. She sat at my kitchen counter, humming a little, and said they reminded her of something she'd loved years ago but couldn't quite name. We spent the next ten minutes trying to figure it out, and I realized that food sometimes carries these little emotional notes that have nothing to do with the recipe itself.
Storage and Make-Ahead Magic
These bites are one of my favorite make-ahead snacks because they keep beautifully and taste good in almost any state. Stored in an airtight container in the fridge, they last about five days and actually taste better on day two when the flavors have melded together overnight. I often make a double batch on a Sunday afternoon and portion them out for the week.
Flavor Swaps and Personal Touches
The beauty of this recipe is how forgiving it is to your preferences and whatever vegetables happen to be in your kitchen. I've made versions with roasted zucchini instead of spinach, added feta alongside the cheddar for brightness, and once threw in some crispy bacon bits that absolutely transformed the whole thing. The formula stays the same—you're really just playing with the add-ins and letting your instincts guide you.
Perfect Pairings and When to Serve Them
I pack these in lunchboxes, serve them as appetizers with a sharp Greek yogurt dip, or just eat them plain while standing at the kitchen counter on a busy morning. They're especially good alongside a simple salad with lemon vinaigrette, or with a small bowl of salsa for dipping if you're feeding a crowd. They also work beautifully as part of a snack board with fresh fruit and nuts.
- Make them ahead and freeze in a labeled container for up to three weeks, then reheat in a toaster oven for about eight minutes.
- Serve them warm right out of the oven for the best texture, but don't skip them cold—the flavors are still completely satisfying.
- If you're meal prepping, portion them into individual containers so you're never tempted to skip a healthy snack when you're busy.
 Save to Pinterest
 These little bites have become my answer to "what can I bring" and my solution to "what do I feed my kid when nothing else appeals." They're simple enough to not feel like a production, but thoughtful enough that people remember them.
Recipe FAQs
- → Can I use different cheeses?
Yes, alternatives like Monterey Jack, Swiss, or dairy-free cheeses work well and provide varied flavors.
- → Are these bites suitable for gluten-free diets?
Use gluten-free breadcrumbs to maintain a gluten-free version that is just as tasty.
- → How do I store leftovers?
Store in an airtight container in the refrigerator for up to 3 days or freeze for longer storage.
- → What are good dips to serve with them?
Greek yogurt dip, salsa, or marinara complement the bites nicely for extra flavor.
- → Can I customize the vegetables?
Absolutely, substitute baby spinach with kale or zucchini to suit your preferences.
- → What tools are needed for preparation?
A mini muffin tin, mixing bowl, and spoon or small scoop are essential for shaping and baking.