 Save to Pinterest
 My panini press sat unused for months until one rainy Saturday when I decided to clear out the fridge before grocery shopping. I started layering odds and ends between two slices of bread, pressed down the lid, and heard that satisfying sizzle. The aroma that filled the kitchen—toasted bread, melted cheese, warm herbs—turned a mundane chore into a tiny celebration. I've been hooked on creative panini ever since.
I made the Turkey & Cranberry version for my sister the day after Thanksgiving, using actual holiday leftovers. She took one bite, closed her eyes, and said it tasted like the best parts of the feast without any of the stress. We stood at the counter eating them straight off the cutting board, laughing about how we should have just made panini instead of roasting a whole bird.
Ingredients
- Sourdough, ciabatta, or multigrain bread: The foundation of every great panini is sturdy bread that crisps beautifully under pressure without turning soggy, so avoid soft sandwich loaves.
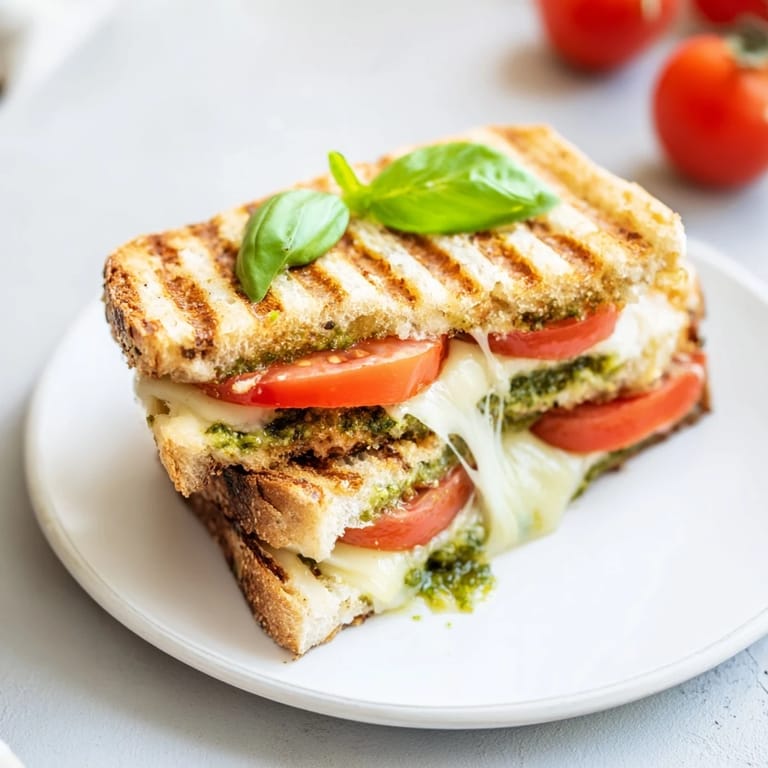
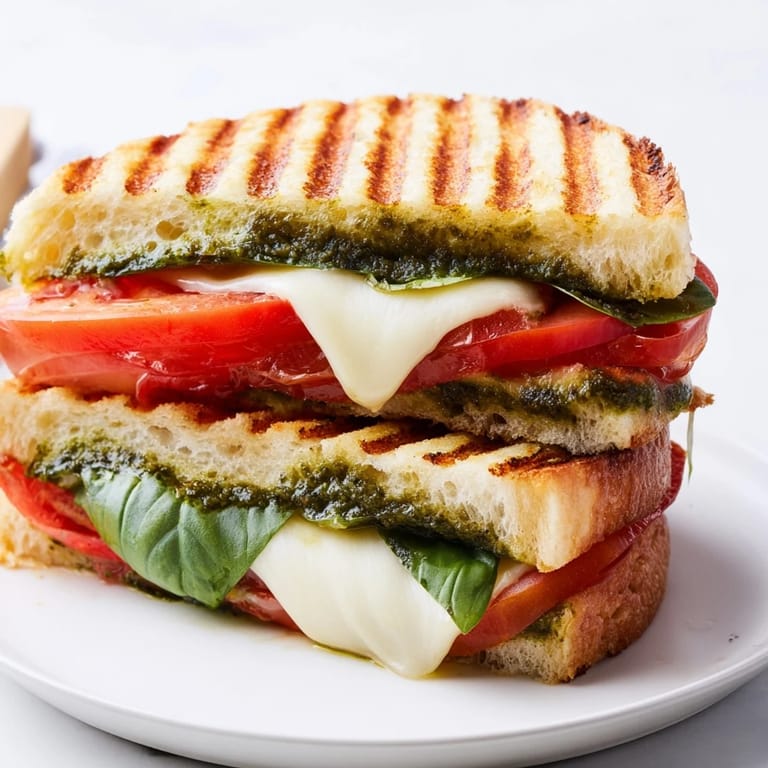
- Fresh mozzarella: This melts into creamy pools that bind the Caprese together, and I always pat the slices dry with a paper towel to prevent excess moisture.
- Basil pesto: A thin spread goes a long way, adding herbal richness without overwhelming the other flavors or making the bread too wet.
- Sliced turkey breast: Deli turkey works perfectly here, but leftover roasted turkey breast adds even more depth and a homemade touch.
- Cranberry sauce: The sweet tart contrast cuts through the richness of cheese and butter, turning a simple sandwich into something unexpectedly elegant.
- Grilled eggplant and zucchini: I slice these thin, brush with olive oil, and char them on a hot skillet beforehand so they develop smoky edges that shine in the Mediterranean version.
- Feta cheese: Crumbled feta adds salty bursts that balance the sweetness of roasted peppers and the earthiness of grilled vegetables.
- Shredded chicken breast: Leftover rotisserie chicken saves time and soaks up BBQ sauce beautifully, making the filling moist and flavorful.
- Pepper jack cheese: The spicy kick amplifies the BBQ flavor and melts into gooey layers that hold the chicken and onions together.
- Olive oil and butter: Brushing the outside of the bread with fat ensures crispy, golden exteriors that shatter under your teeth with every bite.
Tired of Takeout? 🥡
Get 10 meals you can make faster than delivery arrives. Seriously.
One email. No spam. Unsubscribe anytime.
Instructions
- Preheat the press:
- Turn on your panini press and let it heat fully while you assemble your sandwiches. A properly heated press ensures even browning and prevents sticking.
- Lay out your bread:
- Place two slices side by side for each sandwich, keeping them close so you can visualize the finished creation before you start layering.
- Spread your sauces:
- Apply pesto, cranberry sauce, hummus, or BBQ sauce to the inner faces of the bread, spreading all the way to the edges. This creates a flavorful barrier that keeps the bread from getting soggy.
- Layer the fillings:
- Stack cheese, meats, vegetables, and greens evenly, avoiding thick piles in the center that prevent the press from closing smoothly. Balance is key to a well pressed panini.
- Close and brush:
- Top each sandwich with the second slice of bread, then lightly brush or spread the outer surfaces with olive oil or butter for maximum crispness.
- Press and cook:
- Place the sandwiches in the heated press and close the lid gently, allowing the weight to compress the layers. Cook for four to six minutes until the bread is golden and the cheese has melted into the fillings.
- Slice and serve:
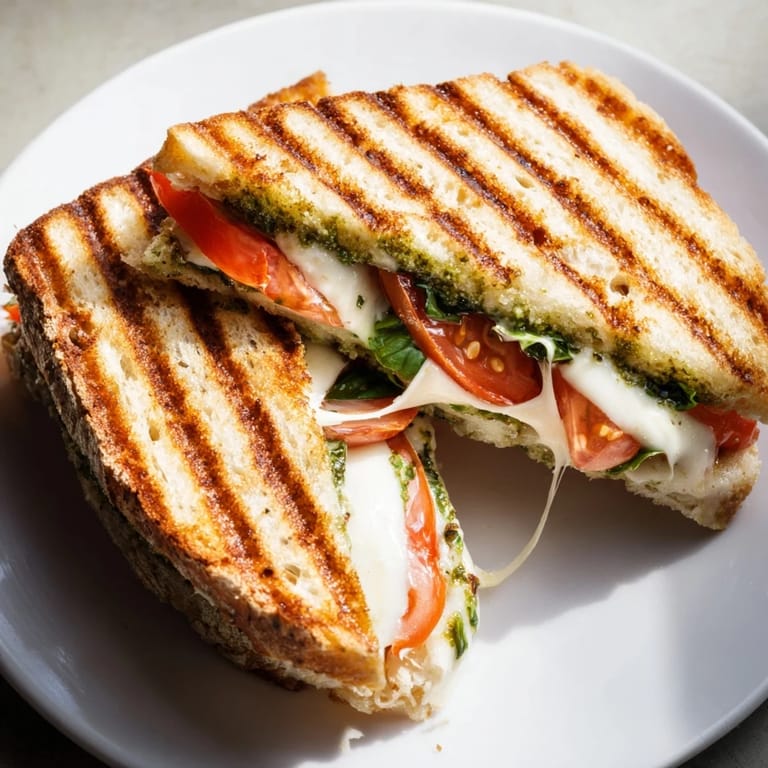
- Remove the panini carefully, let them rest for a moment, then slice diagonally and serve while still hot and crispy.
 Save to Pinterest
 One evening I made the Mediterranean Veggie panini for a friend who swore she did not like eggplant. She finished the whole thing, then asked for the recipe, admitting that the smoky grilled vegetables and tangy feta had completely changed her mind. Food has a way of rewriting old opinions when it is prepared with care.
Choosing Your Bread
The bread you select sets the tone for the entire sandwich. Sourdough adds a subtle tang that pairs beautifully with fresh mozzarella and tomatoes, while multigrain brings nutty depth to the Turkey & Cranberry combination. Focaccia or rustic breads hold up to hearty veggie fillings without falling apart, and their chewy texture contrasts perfectly with crispy pressed edges. I have learned to avoid pre sliced soft sandwich bread because it compresses into a dense, gummy layer that lacks the satisfying crunch a true panini deserves.
Balancing Flavors and Textures
A great panini is a study in contrasts: creamy cheese against crunchy bread, sweet cranberry sauce meeting salty turkey, smoky grilled vegetables mingling with tangy feta. I think about how each ingredient will taste in a single bite, making sure no one flavor dominates. The key is layering thoughtfully so every element has a moment to shine, whether it is the peppery bite of arugula, the richness of melted Swiss, or the bright acidity of a ripe tomato. When the layers are balanced, each bite feels like a little adventure.
Serving and Pairing Suggestions
Panini are substantial enough to stand alone, but I love pairing them with a simple arugula salad dressed in lemon and olive oil or a bowl of tomato soup for dipping. The Caprese version shines alongside a crisp Pinot Grigio, while the Spicy BBQ Chicken pairs beautifully with a light red or even a cold beer. For a casual lunch, slice the panini into smaller pieces and serve them as finger food at gatherings where guests can sample multiple flavors.
- Add a handful of kettle chips or sweet potato fries for a satisfying crunch on the side
- Serve with pickles, olives, or marinated artichokes to echo the Mediterranean theme
- Offer a variety of hot sauces or aioli for guests who want to customize their bites
 Save to Pinterest
 There is something deeply satisfying about hearing that first crunch as you bite into a perfectly pressed panini, the way the flavors meld together under heat and pressure into something greater than the sum of their parts. I hope these combinations inspire you to raid your fridge and create your own pressed masterpieces.
Recipe FAQs
- → What temperature should I preheat my panini press to?
Follow your panini press manufacturer's instructions for preheating. Most presses reach optimal temperature within 5-10 minutes. You'll know it's ready when a light indicator appears or you can feel heat radiating from the plates.
- → Can I prepare panini fillings in advance?
Yes! Prepare grilled vegetables and proteins up to 4 hours ahead. Store separately in airtight containers. Assemble sandwiches just before pressing to keep bread fresh and prevent sogginess.
- → How do I prevent my panini from sticking to the press?
Lightly brush or spread oil and butter on the outer bread surfaces before placing in the press. This creates a barrier and ensures even, golden browning. Don't skip this step for best results.
- → What bread works best for panini?
Choose sturdy breads that hold up to pressing: sourdough, ciabatta, focaccia, or multigrain. Avoid soft breads like white sandwich bread, which compress too much. Thicker slices (¾-inch) work better than thin ones.
- → Can I make these sandwiches without a panini press?
Absolutely! Use a cast-iron skillet or griddle with a heavy weight on top. Cook 2-3 minutes per side until golden and cheese melts. A grill works wonderfully too—just adjust heat to medium.
- → How do I adapt these combinations for dietary restrictions?
Substitute ingredients easily: use plant-based cheeses and proteins for dairy-free or vegan versions, gluten-free bread for celiac diets, or omit nuts from pesto. The veggie combination is naturally vegetarian.