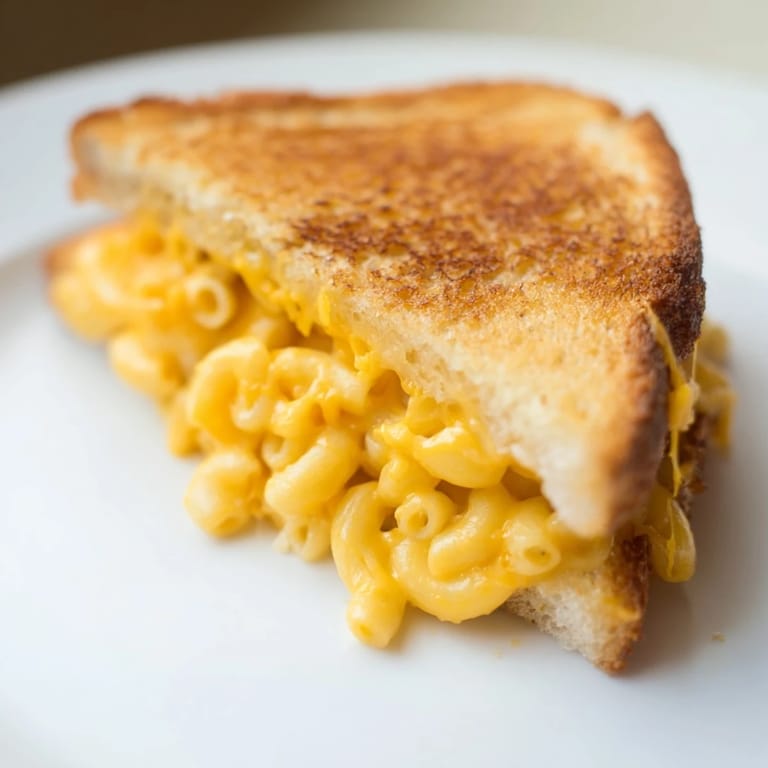
 Save to Pinterest
 There was this rainy Tuesday when I opened the fridge and found a container of leftover mac and cheese sitting next to a loaf of sourdough. My stomach growled, my brain sparked, and ten minutes later I was biting into something that felt like a hug wrapped in butter. The crisp bread gave way to creamy, melty pasta, and I couldn't believe I'd never thought of it before. It's been my go-to ever since for those days when I need comfort in both hands.
I made these for my brother once after he'd had a long day at work, and he didn't say a word until he'd finished the whole thing. Then he looked up and said, 'I didn't know you could do that.' Neither did I, honestly. But watching him devour it in happy silence was all the proof I needed that this recipe was a keeper.
Ingredients
- Elbow macaroni: The classic shape for mac and cheese, it holds the sauce perfectly and fits neatly inside the sandwich without poking through the bread.
- Sharp cheddar cheese: The sharpness cuts through the richness and gives the sauce real flavor, not just creaminess.
- Unsalted butter: You'll use it in the sauce and on the bread, and controlling the salt yourself makes all the difference.
- Whole milk: It creates a smooth, creamy sauce that clings to every piece of pasta without being too heavy.
- Sourdough or sandwich bread: Sourdough adds a subtle tang that balances the cheese, but any sturdy bread will crisp up beautifully.
- Optional cheddar or American cheese slices: This extra layer melts into the mac and cheese and makes the sandwich even more gooey and indulgent.
Tired of Takeout? 🥡
Get 10 meals you can make faster than delivery arrives. Seriously.
One email. No spam. Unsubscribe anytime.
Instructions
- Cook the macaroni:
- Bring the water and salt to a rolling boil, then add the macaroni and cook it until it's just al dente, with a slight bite. Drain it well so you don't end up with a watery sauce.
- Make the cheese sauce:
- Melt the butter in the same pot, then stir in the drained macaroni, milk, shredded cheddar, and black pepper until everything melts together into a thick, glossy sauce. Let it cool slightly so it firms up and doesn't ooze out when you flip the sandwich.
- Assemble the sandwiches:
- Lay out your bread slices and butter one side of each, then pile the mac and cheese on the unbuttered side and top with a slice of cheese if you're using it. Press the sandwich together gently so it holds its shape.
- Cook the sandwiches:
- Heat your skillet over medium heat and cook each sandwich for 3 to 4 minutes per side, pressing down gently with a spatula until the bread turns golden and the cheese inside melts. Let them rest for a minute or two before slicing so the filling doesn't spill out.
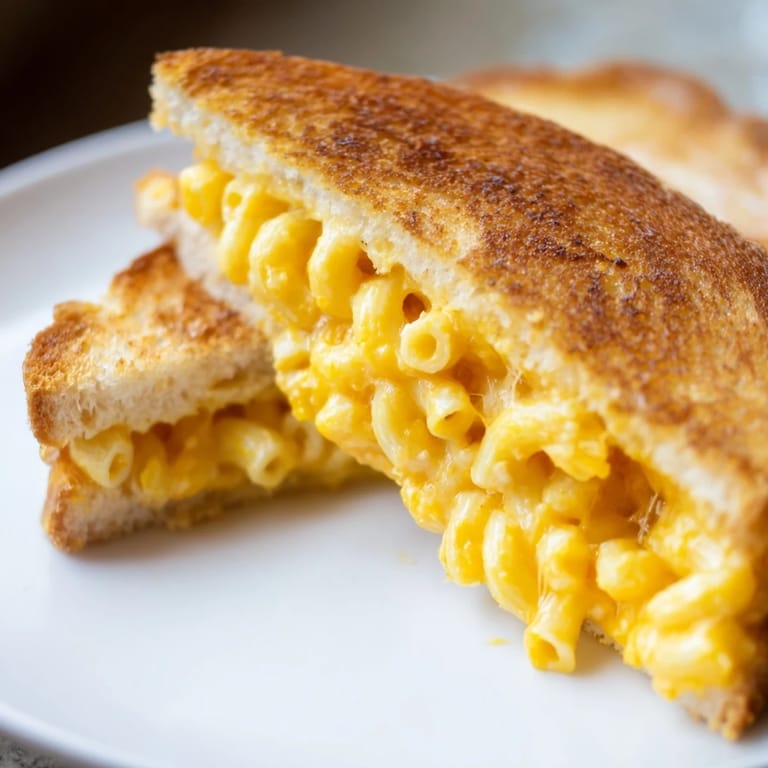 Save to Pinterest
 The first time I served these at a casual dinner with friends, I thought they might be too simple or too weird. But everyone went quiet for a few minutes, then someone said, 'This is dangerous,' and reached for another half. That's when I knew this wasn't just a sandwich, it was a conversation stopper.
Making It Your Own
Once you've nailed the basic version, it's fun to play around. I've stirred in chopped chives for a subtle onion flavor, crumbled crispy bacon for smoky richness, and even tucked in a thin slice of tomato for a little acidity. A sprinkle of hot sauce on the mac and cheese before you close the sandwich adds a kick that cuts through all that creamy cheese.
Pairing and Serving
I almost always serve these with a bowl of tomato soup on the side, because dunking a mac and cheese grilled cheese into tangy tomato soup is the ultimate nostalgic comfort move. A simple green salad or some pickle spears on the side balance out the richness and make it feel like a complete meal.
Storage and Reheating
These are best eaten fresh, but if you have leftovers, wrap them tightly and refrigerate. Reheat in a skillet over medium-low heat to bring back some of that crispy crust, or use a toaster oven if you have one.
- Store leftover mac and cheese separately if you plan to make more sandwiches later.
- The bread will soften in the fridge, so reheating in a pan is key to restoring the texture.
- You can freeze the mac and cheese on its own, but assembled sandwiches don't freeze well.
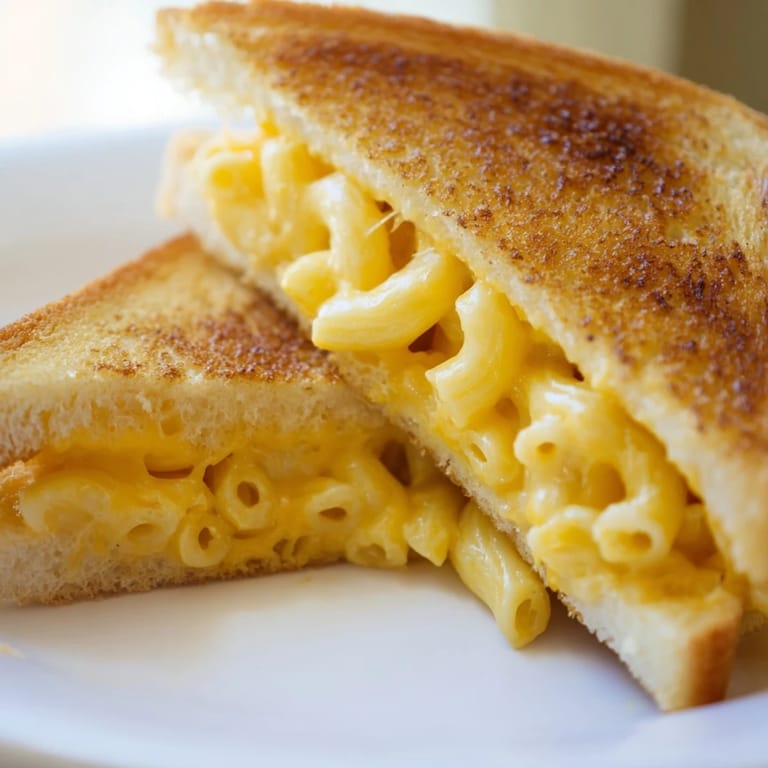 Save to Pinterest
 This sandwich is proof that sometimes the best recipes come from a moment of hungry inspiration and a willingness to break the rules. Make it once, and it'll become one of those things you crave on a cold night or a long day.
Recipe FAQs
- → Can I make the macaroni and cheese ahead of time?
Yes, you can prepare the mac and cheese up to 2 days in advance. Store it in an airtight container in the refrigerator. Warm it gently before assembling the sandwiches to ensure it spreads easily.
- → What type of cheese works best for this sandwich?
Sharp cheddar creates the most flavorful sauce, but you can use mild cheddar, Gruyère, or a blend. The optional slices between bread add extra richness—American cheese melts smoothly for a classic touch.
- → How do I prevent the sandwich from falling apart?
Allow the mac and cheese to cool slightly so it thickens and holds together better. Don't overfill the sandwich, and press gently with a spatula while cooking to help the cheese bind everything together.
- → Can I add meat to this sandwich?
Absolutely. Crispy bacon or diced ham work wonderfully mixed into the mac and cheese or layered in the sandwich. Cook the meat beforehand and drain excess grease.
- → What's the best way to get a crispy exterior?
Use a medium heat setting and cook each side for 3-4 minutes. Buttering the outside of the bread is key. A griddle or cast-iron skillet distributes heat evenly for consistent browning.
- → What can I serve alongside this sandwich?
Tomato soup is the classic pairing. You can also serve with a fresh green salad, pickles, or coleslaw to balance the richness of the cheese.