 Save to Pinterest
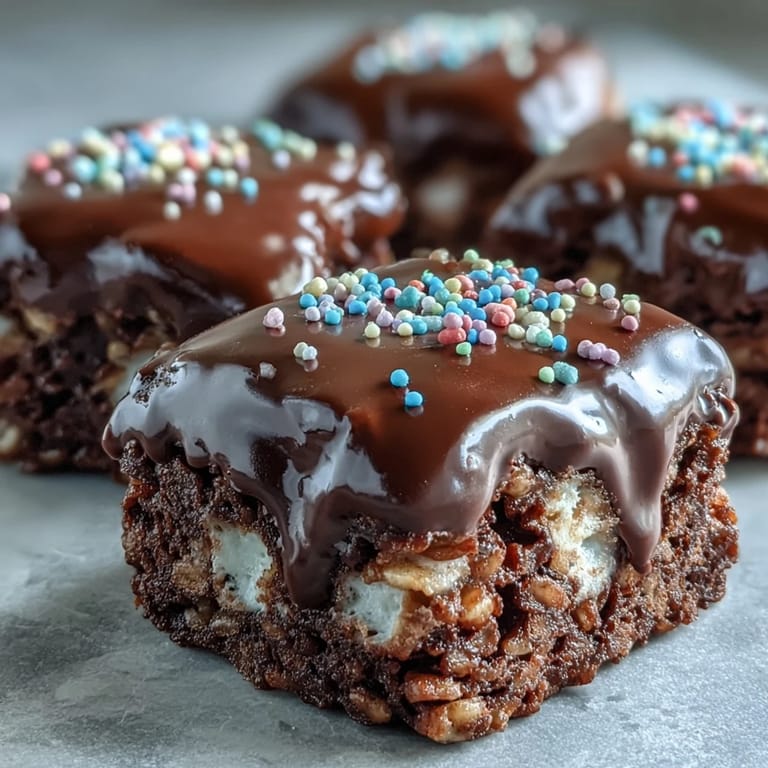
 My niece burst into the kitchen asking if we could make "the crunchy chocolate squares from the bake sale," and I realized she meant the treats I'd nearly forgotten how simple they were to throw together. We pulled out the cereal box, a bag of marshmallows, and some chocolate chips, and within minutes the stovetop was fragrant with melting butter and sugar. Watching her eyes widen as the chocolate pooled over the pressed cereal reminded me why this recipe never gets old. It's nostalgic, yes, but it's also ridiculously easy and endlessly customizable.
I brought a batch to a potluck last spring, stacked in a glass container with parchment between the layers, and they disappeared faster than anything else on the table. One friend asked if I'd used a secret ingredient, and I had to laugh because the only secret was not skipping the pinch of salt. That tiny addition wakes up the sweetness and makes each bite taste more intentional. It's the kind of small tweak that makes people think you've been baking for years.
Ingredients
- Unsalted butter: Melts into the marshmallows to create that signature gooey binder, and using unsalted lets you control the seasoning perfectly.
- Mini marshmallows: Melt faster and more evenly than the large ones, giving you a smoother, lump-free base in half the time.
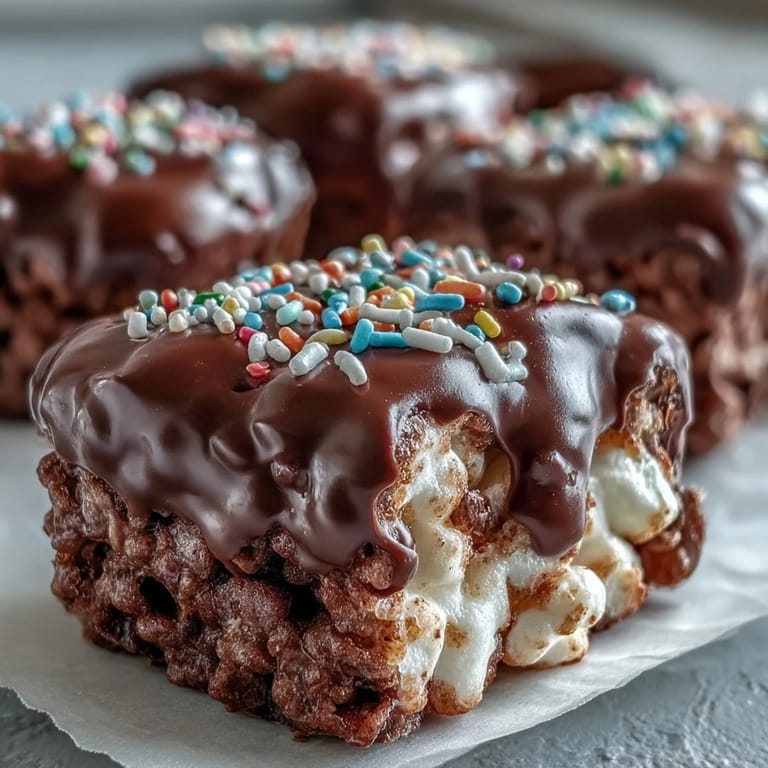
- Rice Krispies cereal: The classic snap, crackle, and pop texture that holds its shape even under a thick chocolate coat.
- Fine sea salt: Optional but transformative, it balances the sugar and brings out the chocolate's depth without tasting salty.
- Semisweet or dark chocolate chips: Choose based on your sweetness preference; dark chocolate adds a grown-up edge, while semisweet keeps it crowd-pleasing.
- Vegetable oil or coconut oil: Thins the chocolate just enough to pour smoothly and creates a glossy, professional-looking finish.
- Rainbow sprinkles or chopped nuts: Pure fun and crunch on top, and they make each bar look like a little celebration.
Tired of Takeout? 🥡
Get 10 meals you can make faster than delivery arrives. Seriously.
One email. No spam. Unsubscribe anytime.
Instructions
- Prep your pan:
- Grease an 8x8-inch or 9x9-inch square baking pan generously with butter, making sure to coat the corners. For easiest removal, line the pan with parchment paper, leaving an overhang on two sides.
- Melt the butter:
- In a large saucepan over low heat, melt the 6 tablespoons of butter slowly, stirring constantly so it doesn't brown or separate.
- Melt the marshmallows:
- Add the entire package of mini marshmallows to the melted butter and keep stirring gently until they completely melt into a smooth, glossy mixture. Remove from heat immediately to avoid scorching.
- Season the base:
- Stir in the sea salt if you're using it; this is also the moment to add vanilla extract if you want an extra layer of flavor.
- Fold in the cereal:
- Add all 6 cups of Rice Krispies cereal at once and fold gently with a spatula until every piece is evenly coated. Work quickly before the mixture starts to cool and stiffen.
- Press into the pan:
- Transfer the mixture into your prepared pan and press it down evenly and firmly using a buttered spatula or lightly greased hands. The more firmly you press, the neater your final bars will be.
- Let it rest:
- Allow the mixture to sit at room temperature for about 10 minutes so it firms up slightly before you add the chocolate.
- Melt the chocolate:
- In a microwave-safe bowl, combine the chocolate chips and oil, then microwave on medium power in 30-second intervals, stirring after each, until the mixture is completely smooth and glossy.
- Pour and spread:
- Pour the melted chocolate over the cooled Rice Krispy layer and use an offset spatula or the back of a spoon to spread it evenly from edge to edge.
- Add the garnish:
- Immediately sprinkle with rainbow sprinkles or chopped nuts while the chocolate is still wet so they stick beautifully.
- Set the chocolate:
- Let the treats sit at room temperature for at least 1 hour, or pop them in the fridge for 20 to 30 minutes if you're in a hurry. The chocolate should be completely firm before cutting.
- Cut into bars:
- Lift the entire block out using the parchment overhang, or carefully invert it onto a cutting board, then use a sharp knife to cut into 12 to 16 bars. Wipe the knife clean between cuts for the neatest edges.
 Save to Pinterest
 The first time I made these for a birthday party, I watched kids and adults alike reach for seconds, and I realized that some recipes don't need to be complicated to be memorable. There's something about the contrast between the crispy cereal and the smooth chocolate that just works, no matter who you're serving. It's become my go-to when I want to show up with something homemade but don't have hours to spend in the kitchen.
Flavor Variations
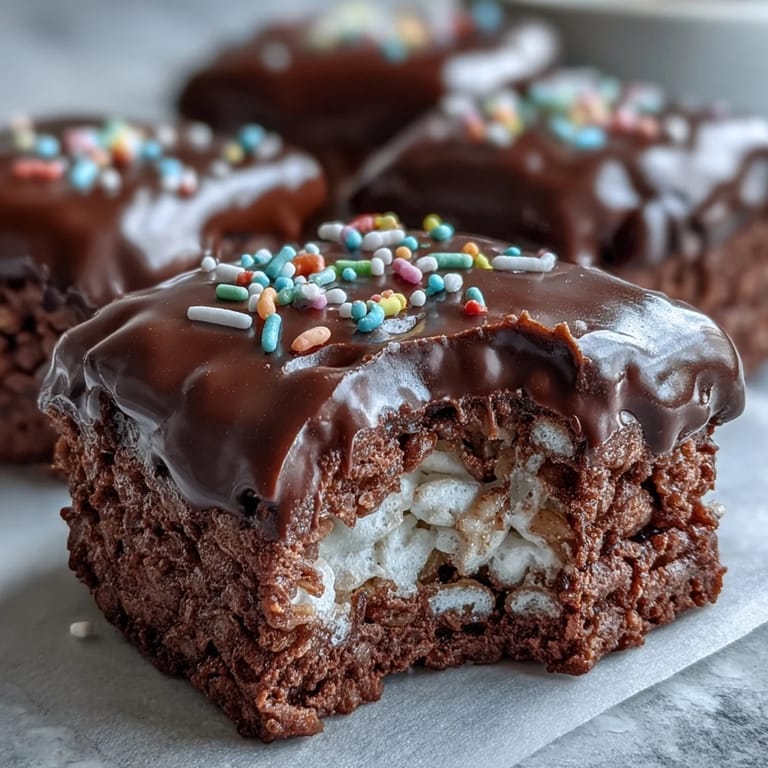
Swap the semisweet chocolate for white chocolate and top with pastel sprinkles for a springtime or Easter version that looks like it came from a boutique bakery. You can also stir a tablespoon of peanut butter into the marshmallow mixture for a subtle nutty flavor that pairs beautifully with dark chocolate. For a more grown-up treat, sprinkle flaky sea salt over the chocolate layer instead of sprinkles, or fold in a handful of mini chocolate chips or dried fruit into the cereal before pressing. Each small change turns this into a completely different dessert.
Storage and Make-Ahead Tips
These bars hold up beautifully at room temperature in an airtight container for up to three days, though the chocolate may soften slightly in warm kitchens. If you want them to last longer or you live in a hot climate, store them in the fridge for up to a week, just let them sit out for a few minutes before serving so the chocolate isn't rock-hard. You can also freeze the bars between layers of parchment in a freezer-safe container for up to two months, then thaw them at room temperature for about 30 minutes. They're one of the few treats that actually travel well, so they're perfect for bake sales, picnics, or care packages.
Serving Suggestions
Cut them into smaller bite-sized squares and arrange them on a platter with fresh berries and whipped cream for an easy dessert board that looks far fancier than the effort required. Serve them alongside a scoop of vanilla ice cream and a drizzle of caramel sauce for an indulgent sundae-style treat. They also pair beautifully with hot coffee or cold milk, making them ideal for afternoon snacks or casual gatherings.
- Wrap individual bars in cellophane and tie with ribbon for party favors or lunchbox surprises.
- Stack them in a clear jar with layers of parchment for a beautiful homemade gift.
- Serve them on a wooden board with other no-bake treats for a simple, stress-free dessert spread.
 Save to Pinterest
 Every time I make these, I'm reminded that the best recipes are often the simplest ones, the ones that don't require a dozen steps or exotic ingredients but still bring people together. Keep this one in your back pocket for last-minute potlucks, rainy afternoons with kids, or whenever you need a little sweetness without the fuss.
Recipe FAQs
- → How long do these treats stay fresh?
Store in an airtight container at room temperature for up to 3 days, or refrigerate for up to a week. The chocolate may soften at room temperature in warm climates.
- → Can I use white chocolate instead?
Absolutely! White chocolate works beautifully and creates a lovely contrast with pastel sprinkles. The melting process remains the same.
- → Why add oil to the chocolate?
The vegetable or coconut oil helps the chocolate melt smoothly and creates a glossy finish. It also makes cutting easier once the chocolate sets.
- → Can I make these gluten-free?
Look for certified gluten-free crispy rice cereal, as traditional Rice Krispies contain barley malt. Ensure your chocolate chips are also gluten-free.
- → How do I prevent the mixture from sticking to my hands?
Butter your hands or spatula lightly before pressing the mixture into the pan. This prevents sticking and helps create an even layer.
- → Can I freeze these treats?
Yes! Wrap individual bars in plastic wrap and freeze for up to 2 months. Thaw at room temperature for 30 minutes before serving.