 Save to Pinterest
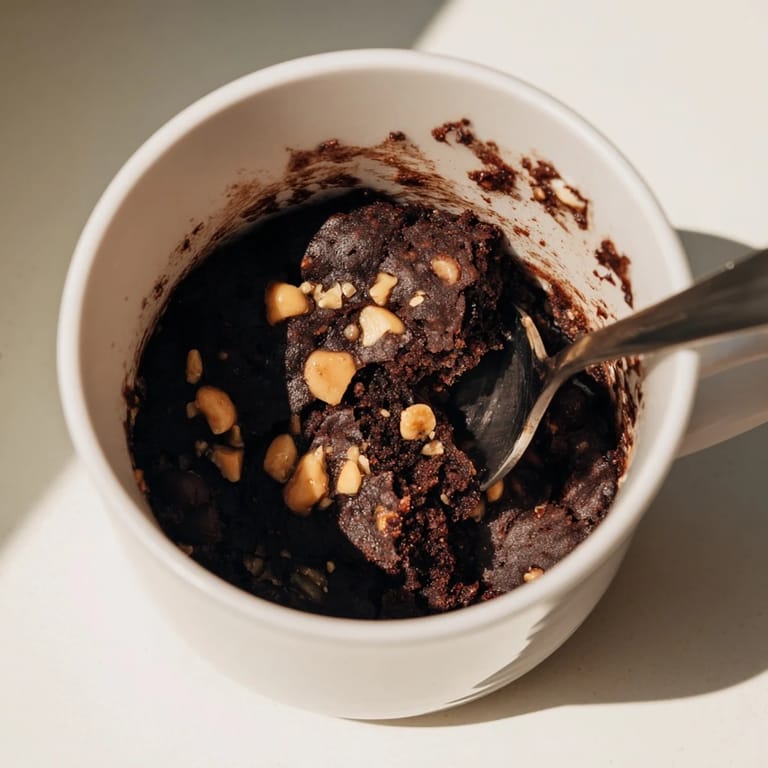
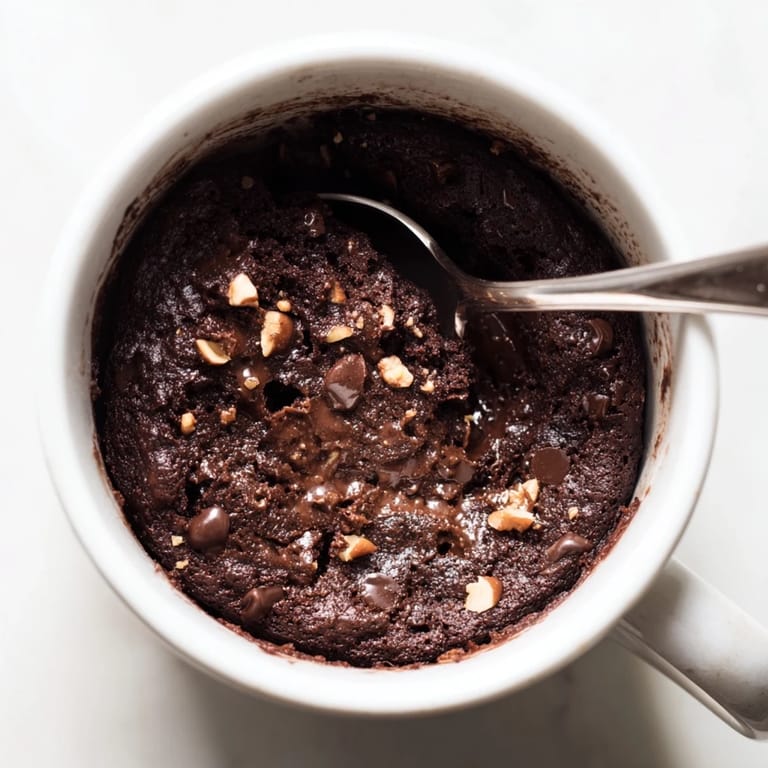
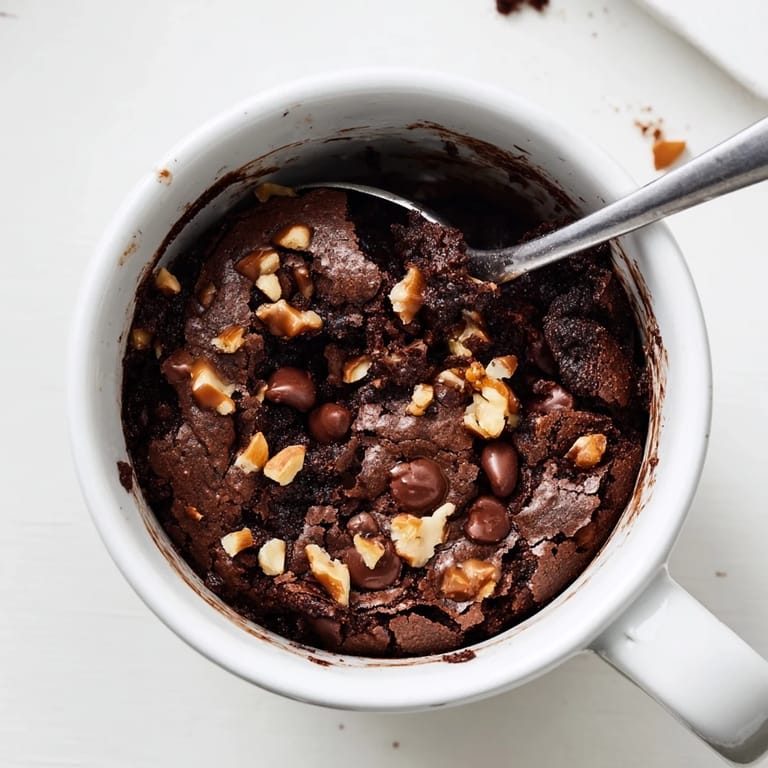
 Late one night, standing in my kitchen with nothing but a craving and three minutes to spare, I discovered that a mug and a microwave could deliver something that felt genuinely indulgent. No mixing bowls, no waiting for an oven to preheat, no complicated techniques—just the quiet satisfaction of stirring together a few pantry staples and watching them transform into something warm and fudgy. That first bite, still steaming from the mug, changed how I thought about dessert entirely.
I remember my partner peeking over my shoulder as I poured milk into that mug, skeptical that anything good could come from such a ridiculous shortcut. When I pulled it out two minutes later and offered them a spoonful, their expression shifted from doubt to genuine delight—the kind of moment that makes you realize sometimes the best discoveries come from desperation and a willingness to look silly in the kitchen.
Ingredients
- All-purpose flour: The structure—just enough to hold everything together without making it dense or cake-like.
- Granulated sugar: Your sweetness and the reason the top gets that slight crisp while the inside stays molten.
- Unsweetened cocoa powder: The soul of this whole thing, so don't skip it or use sweetened cocoa mix.
- Salt: A tiny pinch that makes the chocolate sing in a way that seems impossible at this small scale.
- Vegetable oil or melted butter: The fat that delivers richness and keeps the brownie tender instead of dry.
- Milk: Use whatever you have on hand—dairy, oat, almond—it all works beautifully.
- Vanilla extract: Just a whisper, but it deepens the chocolate flavor in surprising ways.
- Chocolate chips and nuts: Optional, but these are your invitation to make it your own.
Tired of Takeout? 🥡
Get 10 meals you can make faster than delivery arrives. Seriously.
One email. No spam. Unsubscribe anytime.
Instructions
- Combine the dry base:
- Grab a mug that's at least 12 ounces and add the flour, sugar, cocoa powder, and salt. Use a fork to stir everything together until there are no little cocoa clumps hiding—they're sneaky and will show up as gritty bits if you skip this step.
- Wet everything down:
- Pour in the oil, milk, and vanilla, then stir like you mean it until you have a smooth, pourable batter. This is the moment you'll see it come together, and it should look almost like thick pudding.
- Add your treasures:
- If you're using chocolate chips or nuts, fold them in now—gently, so they're distributed throughout without overworking the batter.
- The final moment:
- Microwave on high for 50 to 70 seconds, watching as it rises up and the top just barely loses its shine. Every microwave is a little different, so start at 50 seconds and adjust from there if needed.
- The hardest part—waiting:
- Give it a minute to cool before you dig in, though I'll admit I've never managed the full minute. The mug will be hot, the brownie will be perfect.
 Save to Pinterest
 There's something almost magical about the moment you realize you can have hot, fudgy chocolate cake in less time than it takes to order dessert. This isn't fancy or refined—it's pure comfort, served warm in the very mug you just mixed it in, like the most intimate shortcut between wanting something and having it.
Why Microwaves Change Everything
When I first tried this, I was convinced the microwave would create something rubbery or sad. Instead, the moisture trapped by the mug walls and the fast heat creates an almost pudding-like center that traditional ovens struggle to achieve. The speed isn't just convenient—it's actually part of what makes the texture work so well.
Making It Your Own
This recipe is less a rigid formula and more a template for whatever mood you're in. Some days I make it exactly as written, other days I'm swapping the milk for coffee, adding instant espresso powder, or using brown butter that I've toasted for two minutes just to layer in extra flavor. I've had it with a scoop of vanilla ice cream melting into the warm center, and I've drizzled it with salted caramel that pooled in the corners. The beauty is that even when I experiment, it takes the same amount of time.
Timing and Temperature Tips
Microwave wattage matters more than you'd think—a 1000-watt microwave will cook this faster than a 700-watt one, which is why checking it at the 50-second mark and adjusting from there is smarter than just blindly following the time. I've also learned that letting the batter sit at room temperature for just a minute before microwaving helps it cook more evenly. The temperature difference between ingredients shouldn't matter much, but it does.
- If your microwave runs hot, start checking at 45 seconds to avoid overcooking.
- A mug with thicker ceramic walls will insulate better and might need a few extra seconds.
- Room temperature batter cooks more predictably than cold batter pulled straight from the fridge.
 Save to Pinterest
 Sometimes the most satisfying desserts aren't the ones you spend hours planning—they're the ones you stumble into on a random Tuesday night when you need something warm and a little bit of magic. This brownie is that magic.
Recipe FAQs
- → Can I use a different milk type?
Yes, you can substitute dairy milk with almond, oat, or any plant-based milk for a dairy-free option.
- → How do I avoid overcooking the brownie?
Microwave in short bursts, checking after 50 seconds to prevent dryness and maintain fudgy texture.
- → What can I add for extra richness?
Adding a scoop of vanilla ice cream or drizzling chocolate sauce enhances the richness and flavor.
- → Are nuts necessary in this dessert?
Nuts are optional and can be added for a crunchy texture or omitted for a smoother bite.
- → What size mug is recommended?
Use a microwave-safe mug of at least 12 oz to allow room for the batter to rise and cook evenly.
- → Can vegetable oil be replaced?
Yes, melted butter or coconut oil can be used to change the flavor profile slightly.