 Save to Pinterest
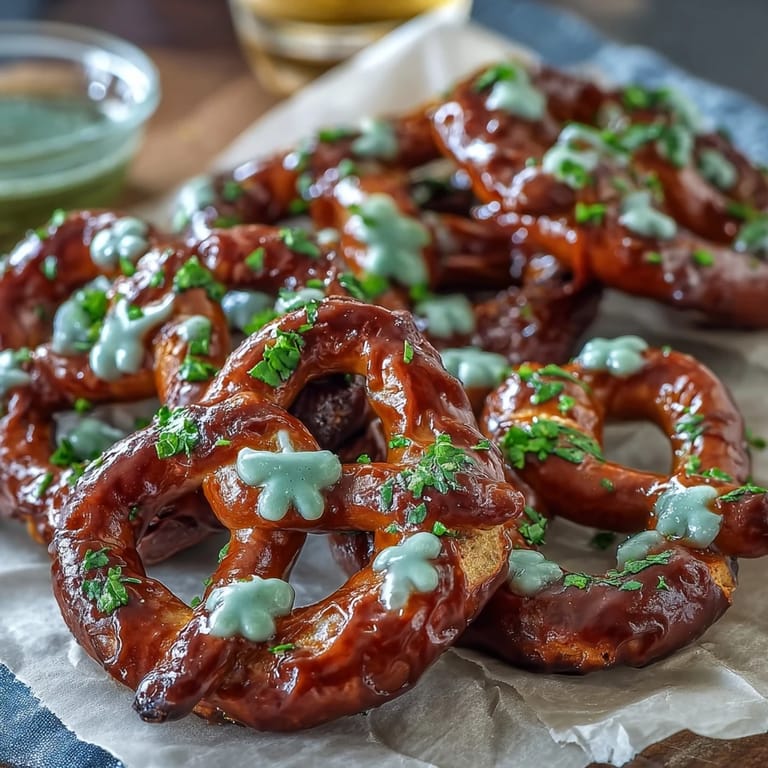
 My neighbor knocked on the door last March with a plate of the most delightful green pretzel bites I'd ever seen, and I couldn't resist asking for the recipe before I'd even finished eating one. Turns out they were shamrock-shaped, studded with sprinkles, and criminally simple to make—just pretzels, melted candy coating, and a little patience. I made a batch that same afternoon while my kids watched, and the kitchen smelled like sweet chocolate and celebration, even though St. Patrick's Day was still weeks away. Since then, these have become my go-to treat for the holiday, and honestly, I make them whenever I need something that looks fancy but requires almost no skill.
I brought these to a St. Patrick's Day potluck last year, and they disappeared faster than anything else on the dessert table—even the elaborate corned beef dip nobody had asked for. One mom literally asked if I'd bought them from a bakery, which felt like the highest compliment a home cook could receive. The best part was watching people's faces when they realized the shamrock shape, and then the crunch when they bit through the candy coating into the salty pretzel.
Ingredients
- 90 small pretzel twists (about 3 per shamrock): These become your clover leaves, and their existing curve does most of the work for you—just arrange three with their rounded sides touching and you've basically got your shamrock shape already.
- 30 mini pretzel sticks (for stems): The stick anchors the whole thing and gives it that unmistakable shamrock silhouette, so don't skip them or you'll just have a confusing trio of pretzels.
- 340 g (12 oz) green candy melts: This is your binding agent and coating, and it sets quickly once cooled, so work with confidence—you've got more time than you think.
- 1 tsp coconut oil or vegetable shortening (optional, for smoother coating): Candy melts can sometimes seize or get thick, and this little addition fixes that problem instantly and makes the final coating silky.
- Green and white sprinkles or sanding sugar: These add the festive touch while the candy's still soft, so pick them out before you start melting anything so they're ready to go.
Tired of Takeout? 🥡
Get 10 meals you can make faster than delivery arrives. Seriously.
One email. No spam. Unsubscribe anytime.
Instructions
- Prep your workspace:
- Line your baking sheet with parchment paper and get everything within arm's reach, because once the candy melts, you'll want to work quickly and smoothly without hunting for supplies.
- Build your shamrocks:
- Take three pretzel twists and arrange them so their curves touch in the center, creating three little leaf bumps pointing outward—it's like a mini puzzle where the pieces actually want to fit together. Tuck a mini pretzel stick underneath to anchor it as the stem, then repeat until you've got 30 shapes lined up on your parchment.
- Melt the candy:
- Pour your green candy melts into a microwave-safe bowl and follow the package directions, usually melting in 30-second bursts and stirring between rounds so nothing burns. If it looks too thick or stiff, stir in just a tiny bit of coconut oil to loosen it up.
- Coat with intention:
- Using a fork or spoon, drizzle or spoon the melted candy over each shamrock shape, making sure to coat all the pretzels and especially the seams where the pieces meet so they're bound together. The candy will be green, warm, and glossy at this stage—almost liquid gold for a moment.
- Decorate immediately:
- While the coating is still soft and sticky, shower each shamrock with green and white sprinkles, moving quickly because you've only got a minute or two before the coating starts to set. This is where they go from homemade-looking to genuinely festive.
- Let them set:
- Leave everything undisturbed at room temperature for 20 minutes, or pop them in the fridge for 10 minutes if you're in a hurry and need them firmed up faster. You'll know they're ready when the coating has that firm snap to it and the pretzels don't shift when you gently touch them.
- Release and arrange:
- Once fully set, gently lift each shamrock off the parchment—they should release with barely any resistance—and arrange them on a platter or box them up for sharing. They look beautiful clustered together, and honestly, people often eat them faster than you can plate them.
 Save to Pinterest
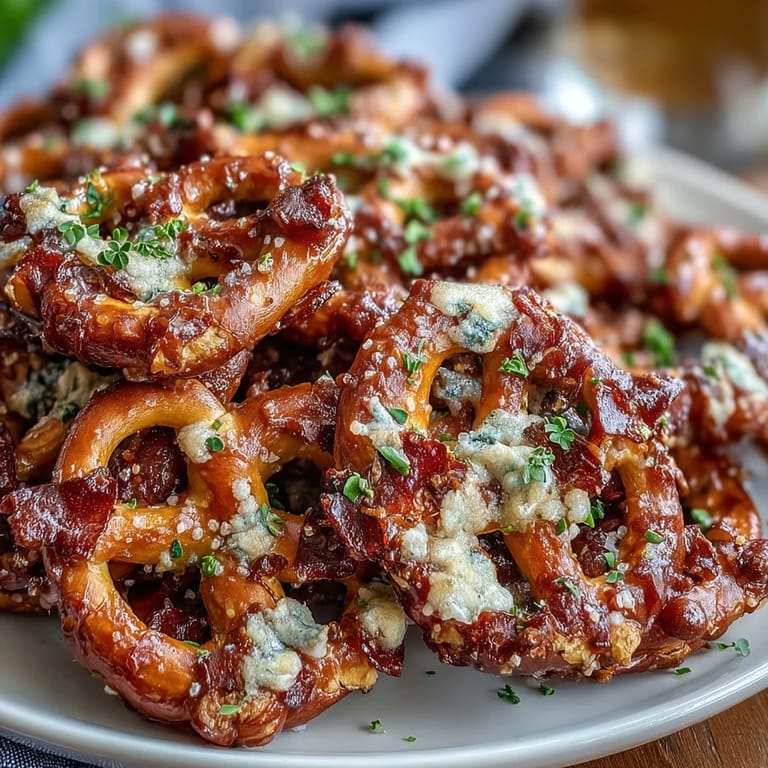
 There's something almost magical about how much joy comes from something so small and salty-sweet, especially when it's shaped like a shamrock and covered in sprinkles. My daughter now requests these every March, and I've started making extra batches in February just to keep peace in the house, which feels like the mark of a truly successful recipe.
Flavor Twists That Work
Once you nail the basic version, you can absolutely play around with the candy coating without changing the structure at all. I've tried white chocolate tinted green with food coloring, which feels slightly more elegant and less obviously candy-melted, and I've added a tiny drop of peppermint extract to the green coating, which transforms these into something that tastes like a holiday party in your mouth. The beauty is that you're not changing anything about the technique—just swapping the candy melt base for something that suits your mood or your guests' preferences.
Storage and Longevity
These keep brilliantly in an airtight container at room temperature for up to five days, which means you can make them the night before a party or gathering without stress. I've also learned that they travel reasonably well if you layer them carefully in a box with parchment between the layers, so they're perfect for bringing to potlucks or sending home with guests who beg for extras.
Why This Became a Holiday Staple
What wins my heart about this recipe is how little it asks of you in exchange for such outsized results—there's no oven, no timing worries, no risk of dry or underbaked disasters. The whole project is basically assembling and dipping, which means even people who don't consider themselves bakers can create something that looks professionally made and absolutely delicious. These shamrock bites have somehow become the thing people specifically ask me to bring to March celebrations, which is the best compliment a simple recipe can receive.
- Make sure your baking sheet is truly flat so the pretzels don't shift while the coating sets.
- If you're making these for a crowd, assembly-line the shamrock building so you're not scrambling to shape them as you melt the coating.
- Green food coloring works in white chocolate, but it can look slightly murky until the coating sets—trust the process and don't keep stirring it.
 Save to Pinterest
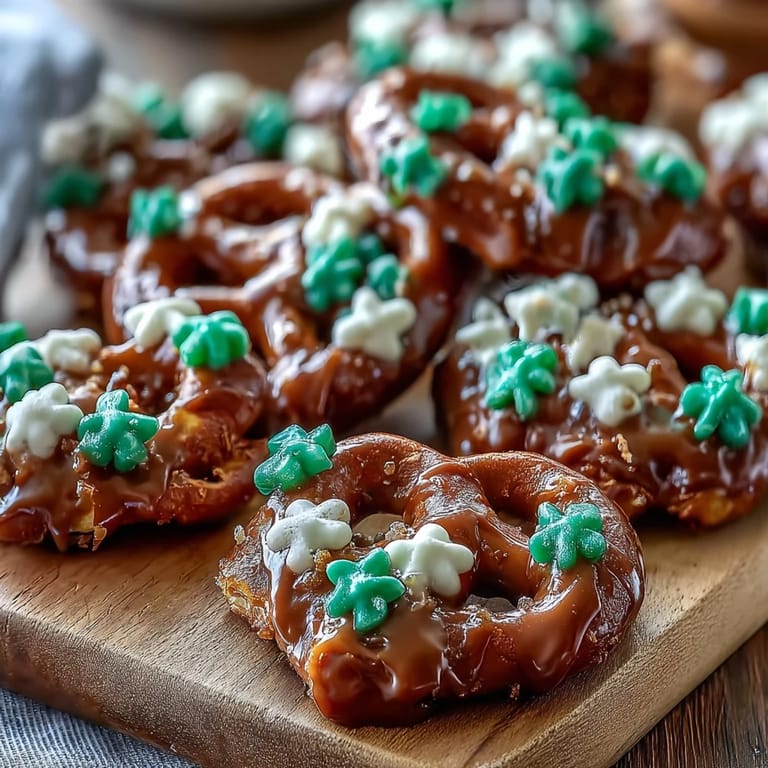
 These little bites are proof that sometimes the simplest ideas bring the most happiness, and they've genuinely changed how I think about party desserts and holiday treats. Make them once, and you'll understand why they're about to become your go-to March recipe.
Recipe FAQs
- → How do you shape the pretzels into shamrocks?
Arrange three small pretzel twists so their curves meet, forming the leaves, and add a mini pretzel stick as the stem.
- → What is the best way to melt the candy coating?
Use a microwave-safe bowl to melt the candy melts following package instructions, stirring in coconut oil if needed for smoothness.
- → Can I use white chocolate instead of green candy melts?
Yes, white chocolate with green food coloring works well as an alternative coating.
- → How long should the coated pretzels set before serving?
Let the coating set at room temperature for about 20 minutes or refrigerate for 10 minutes until firm.
- → What are some decoration tips for these pretzel bites?
Sprinkle green and white sanding sugar or festive sprinkles over the wet candy coating for added texture and color.