 Save to Pinterest
 There’s something downright magical about the scent of bananas and peanut butter swirling together, especially when you're not trying to bake but just craving that cool, creamy treat with almost no effort. I stumbled onto this ice cream during one of those stifling summer afternoons where turning on the oven seemed unthinkable. All I wanted was something sweet and refreshing, but the ice cream carton was scooped clean—and thus, this little miracle was born. Just four simple ingredients, a food processor, and a bit of patience while the freezer works its magic. The best part: no dairy, no complicated steps, just pure, honest goodness in a bowl.
The first time I made this for my friends was after a last-minute dinner in my tiny apartment kitchen. The moment the blender whirred to life and filled the room with that nutty, sweet aroma, everyone abandoned their half-finished conversations to peek over my shoulder. We ended up devouring the softserve straight from the container, spoons clinking and laughter spilling over. There were sticky fingers, licked bowls, and nobody could believe there wasn’t a drop of cream involved.
Ingredients
- Ripe bananas: The riper, the better—spots mean sweeter, creamier ice cream and freezing them in slices makes blending a breeze.
- Creamy peanut butter: A smooth, natural peanut butter gives the best texture and flavor, and a little goes a long way.
- Maple syrup (or honey, optional): This touch of sweetener balances the bananas and enhances the nuttiness; you can adjust to taste.
- Vanilla extract: Just a teaspoon rounds out the flavors and makes the whole dessert taste like you’ve spent hours churning it.
Tired of Takeout? 🥡
Get 10 meals you can make faster than delivery arrives. Seriously.
One email. No spam. Unsubscribe anytime.
Instructions
- Prep the bananas:
- Slice those ripe bananas, lay them out on a parchment-lined baking sheet, and let them freeze until rock solid—about 2 hours should do it.
- Combine the ingredients:
- Once your bananas are frozen, toss them into a food processor with the peanut butter, maple syrup, and vanilla extract.
- Blend till smooth:
- Pulse and blend until everything transforms into a creamy, dreamy mixture, scraping down the sides if the bananas stubbornly clump up.
- Choose your texture:
- For soft-serve, scoop and serve straight away; if you want classic ice cream, smooth it into a loaf pan and freeze until it’s scoopable.
- Serve and enjoy:
- Scoop generously into bowls—don’t forget to savor that first cold, nutty spoonful.
 Save to Pinterest
  Save to Pinterest
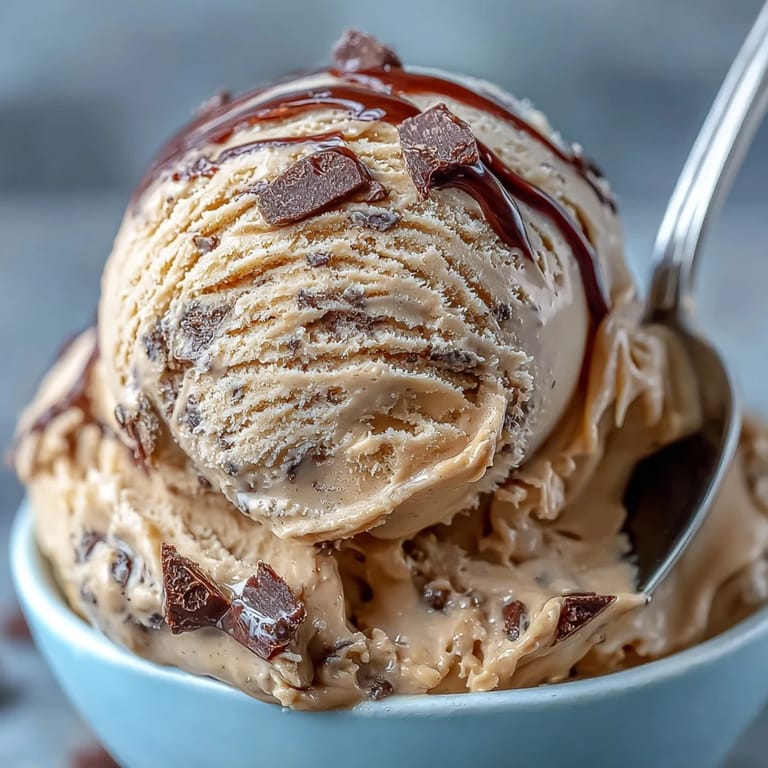
 A friend once surprised me with a handful of chocolate chips right before we froze the batch, transforming our humble dessert into something worthy of a celebratory toast. That tiny addition sparked a round of topping experiments and, honestly, elevated the whole evening into an impromptu sundae party. It reminded me that a recipe is just a guideline—what happens around the kitchen table is what really gives a dish its soul.
Swaps That Work (and Some That Don’t)
I’ve tried making this with almond butter and cashew butter when the peanut jar ran low—both turned out delicious but changed the flavor in subtle ways. If allergies are on your radar, sunflower seed butter is a decent swap, though it needs a pinch more sweetener to hit that dessert note. What didn’t work: anything with added oil or stabilizers made the texture oddly sticky, so stick with simple nut butters if you can.
Tools That Make It Foolproof
A food processor really shines here, but a high-powered blender can do the trick if you pause and scrape the sides often. Every time I tried to shortcut with a hand blender, I just wound up wrestling frozen banana lumps and wishing I’d been more patient. Make sure your container is freezer-safe so your scoops come out glorious—not icy.
Finishing Touches That Wow
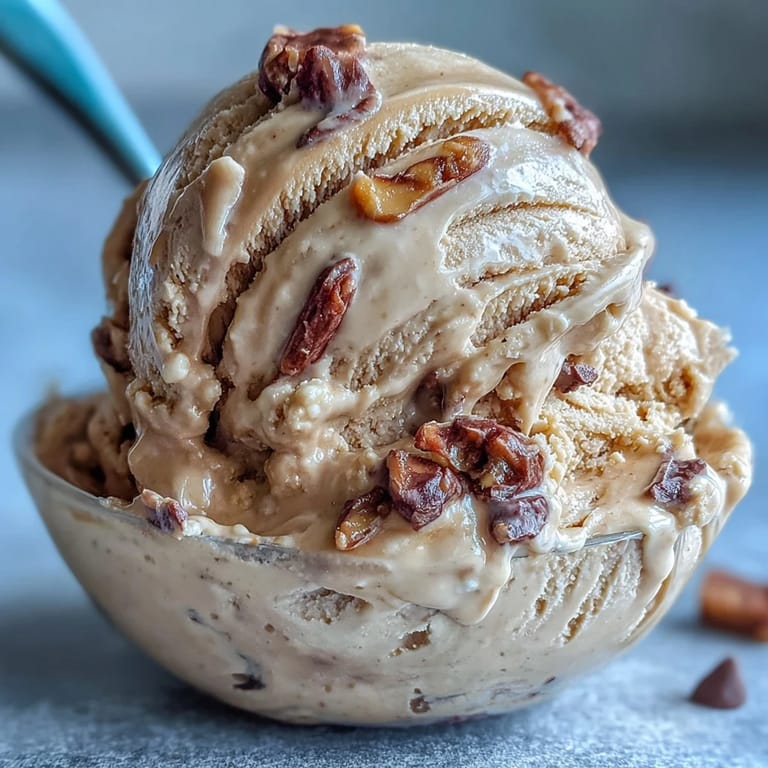
Sometimes I fold in a handful of chopped nuts or a swirl of melted chocolate for crunch. Drizzled nut butter or piles of fresh berries take it over the top and make every bowl feel special, even if you’re solo on the couch. Don’t forget—the best garnish is sharing it with whoever’s nearby.
- Room-temp bananas make bland ice cream.
- Add-ins like chocolate chips or toasty coconut are always welcome.
- Label your containers so you remember what’s inside next week.
 Save to Pinterest
  Save to Pinterest
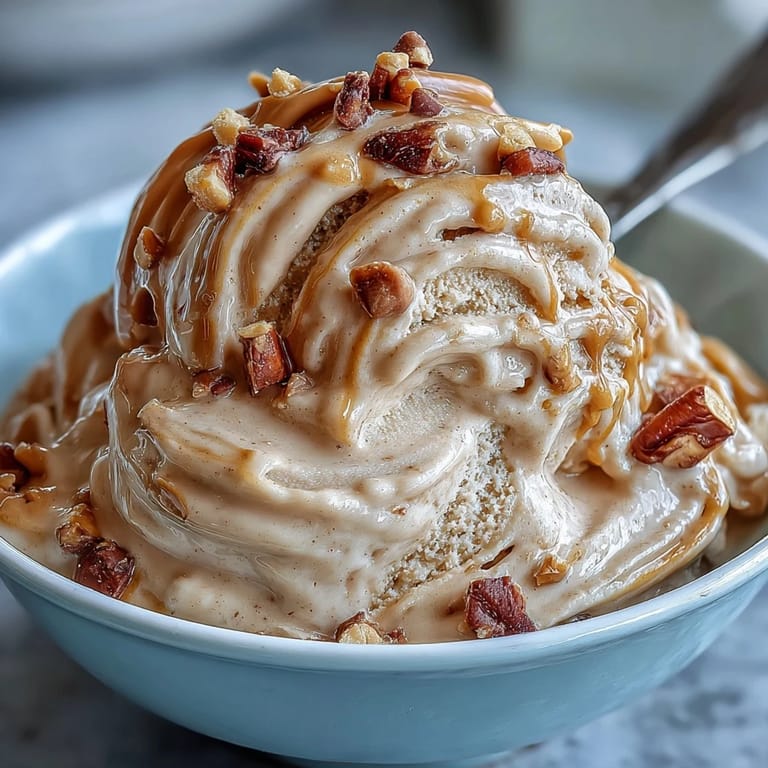
 Nothing brings out spontaneous smiles like scooping this simple, homemade ice cream on a regular night. Here’s hoping your kitchen sees as much joy and laughter as mine has with this creamy creation.
Recipe FAQs
- → How do I get a smooth texture?
Freeze bananas until fully solid, chop into even slices, and blend in short bursts, scraping the bowl as needed. A high-powered blender or food processor yields the creamiest result.
- → Can I use other nut butters?
Yes. Almond or cashew butter are great substitutes. They change the flavor slightly and may alter creaminess, so adjust quantity to taste.
- → How long should I freeze between steps?
Freeze sliced bananas at least 2 hours until solid. For soft-serve, serve immediately after blending; for scoopable texture, refreeze the blended mixture 1–2 hours.
- → What sweeteners work best?
Maple syrup keeps the profile natural and vegan-friendly. Honey can be used if not avoiding animal products. Adjust sweetness to personal preference.
- → How should I store leftovers?
Transfer to a freezer-safe container, smooth the top, and press a piece of parchment on the surface to minimize ice crystals. Keep frozen up to 1 week for best texture.
- → Any tips for adding texture?
Fold in chocolate chips, chopped nuts, or swirls of melted chocolate just before the final freeze to preserve crunch and create contrast in each scoop.