 Save to Pinterest
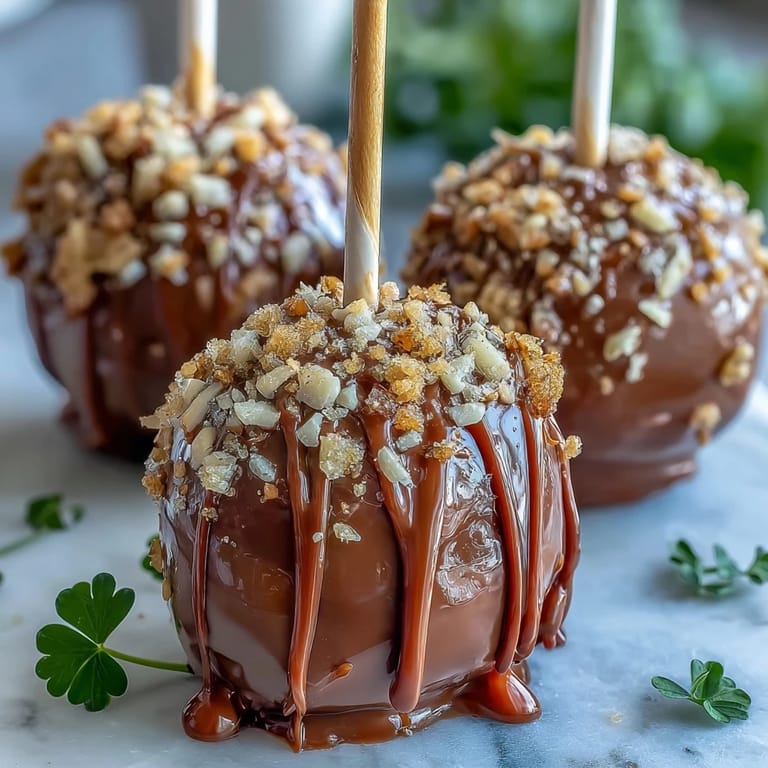
 Last March, my coworker brought these whimsical little cake pops to the office, and the whole break room went quiet for a moment before everyone crowded around. They were impossibly charming—tiny black pots overflowing with edible gold that caught the fluorescent light like actual treasure. She mentioned spending her evening making them for a St. Patrick's Day party, and I remember thinking: that's the kind of dessert people talk about for months afterward. When she finally handed me the recipe, I couldn't resist trying them myself.
My teenage daughter watched me make my first batch with this curious skepticism, arms crossed, until I flattened the first cake ball and she suddenly got it—the pot shape emerging from the chaos of crumbles. By the time I was dipping them in black candy melts, she was helping position the lollipop sticks and sprinkling gold with the concentration of an artist. We ended up making two batches that night, and she claimed three for her friends before I could even box them up.
Ingredients
- Chocolate cake mix: The shortcut that makes this entirely approachable; box mixes have become remarkably good, and honestly, no one can taste the difference once it's crumbled and mixed with frosting.
- Chocolate frosting: This is your binding agent and should be thick enough to hold the crumbs together without making them gummy; store-bought works perfectly here.
- Black candy melts: These create the pot coating and should be melted gently to avoid seizing; I've learned to add a tiny bit of coconut oil if they seem too thick.
- Gold sprinkles or edible gold pearls: The moment these hit the wet black coating, they become magical; the larger pearls look more like treasure than delicate sprinkles.
- Lollipop sticks: These need to be sturdy enough to support the weight of the cake pop without bending; thicker sticks make the whole operation less stressful.
- White candy melts: Perfect for piping delicate rims or accents that make each pot look intentionally decorated rather than hastily assembled.
- Green fondant or sprinkles: Optional, but these tiny shamrock details are what elevate the whole thing from cute to thematic.
Tired of Takeout? 🥡
Get 10 meals you can make faster than delivery arrives. Seriously.
One email. No spam. Unsubscribe anytime.
Instructions
- Bake and cool your cake:
- Follow the package instructions for your chocolate cake mix, then let it cool completely on the counter—this step is crucial because warm cake becomes crumbly mush rather than workable dough. I learned this the expensive way.
- Create the cake crumb mixture:
- Crumble the cooled cake into a large bowl until it resembles coarse sand, then fold in the chocolate frosting until the mixture feels like slightly moist cookie dough. You're looking for something that holds together when squeezed but isn't wet.
- Roll and shape your pots:
- Scoop the mixture into roughly 1.5-inch balls using a cookie scoop or your hands, then gently flatten the tops to suggest the opening of a pot. This doesn't need to be perfect—slight irregularities make them look handmade and charming.
- Chill for structure:
- Refrigerate the balls on a parchment-lined tray for 30 minutes so they firm up enough to withstand the dipping process without falling apart. This patience step is non-negotiable.
- Prepare and insert sticks:
- Melt your black candy melts according to package directions, dip the tip of each stick into the melted coating, then insert it about halfway into each cake ball. Chill these for 10 minutes so the stick sets firmly in place.
- Dip into black coating:
- Gently submerge each cake pop into the melted black candy, twisting slightly as you lift it out so excess coating drips away cleanly. Stand each one upright in a styrofoam block immediately while the coating is still wet.
- Add gold treasure:
- Before the black coating hardens, immediately sprinkle or scatter the gold pearls or sprinkles over the top of each pot so they stick to the wet surface. This timing is everything—if you wait too long, they'll just slide off.
- Add finishing details:
- Once the black coating has set, you can pipe a delicate rim around the top edge with white candy melts using a small piping bag, and tuck green fondant shamrocks into the gold for festive detail. Let everything set completely before handling.
 Save to Pinterest
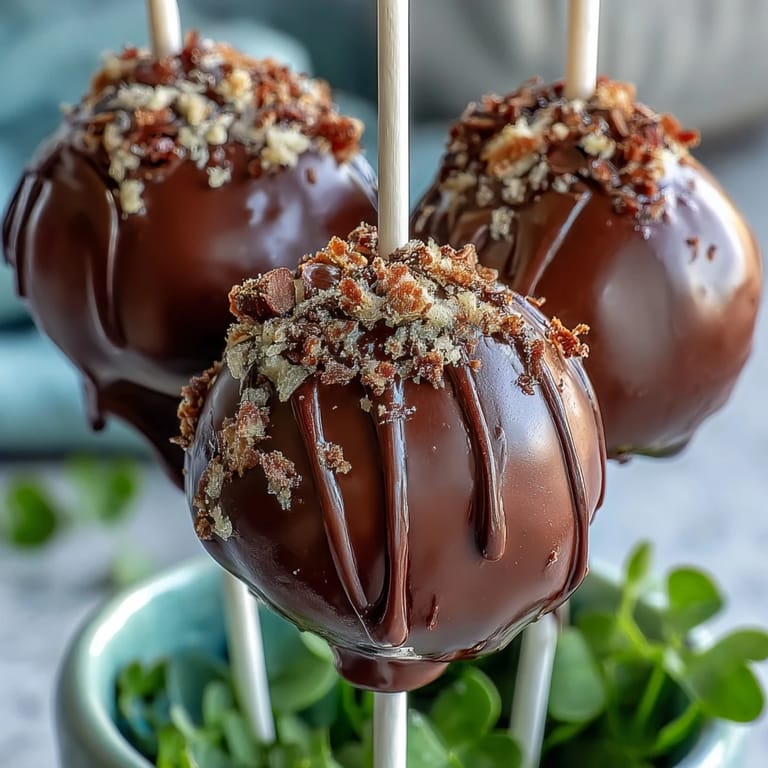
 There's a specific moment when the last cake pop is dipped and positioned, and you step back to look at all twenty-four of them lined up like little edible sculptures catching the light, that you realize you've created something genuinely special. My kitchen smelled like chocolate and possibility, and that feeling alone is worth the two hours of focused work.
Storage and Keeping Quality
These cake pops stay fresh in an airtight container at room temperature for up to three days, though they're honestly best eaten within the first day when the chocolate coating still has a satisfying snap. If you're making them ahead for a party, you can refrigerate them for up to five days and they'll taste just as good; the coating might lose a tiny bit of shine but the taste remains perfect. I usually keep them in individual paper liners inside a decorative box because they look almost too pretty to eat.
Troubleshooting Common Mishaps
I've had cake pops slide off their sticks mid-dip, watched chocolate coating crack in the fridge, and once accidentally used candy melts that were way too thick to dip properly. The first time a pop fell, I panicked, but then I realized I could just recoat it and no one would ever know. Most problems in this recipe are actually fixable, and the worst that happens is you end up with chocolate cake pops that taste amazing even if they look slightly imperfect.
Making Them Gluten-Free and Other Adaptations
For gluten-free guests, simply swap the regular cake mix for a quality gluten-free version and verify that all your candy melts and sprinkles are certified gluten-free. I've also successfully made these with cream cheese frosting instead of chocolate for a tangier version, and with dark green candy melts to create little leprechaun hats instead of pots. The base technique stays the same no matter what you change, so once you've made one batch, you can experiment confidently.
- Green candy melts create a completely different festive look if you want to try that variation next year.
- Dairy-free chocolate frosting works if you need to accommodate allergies, though you may need slightly less since it's often a bit thinner than regular frosting.
- These are vegetarian as written, but always double-check your specific candy melt brand for any surprise ingredients.
 Save to Pinterest
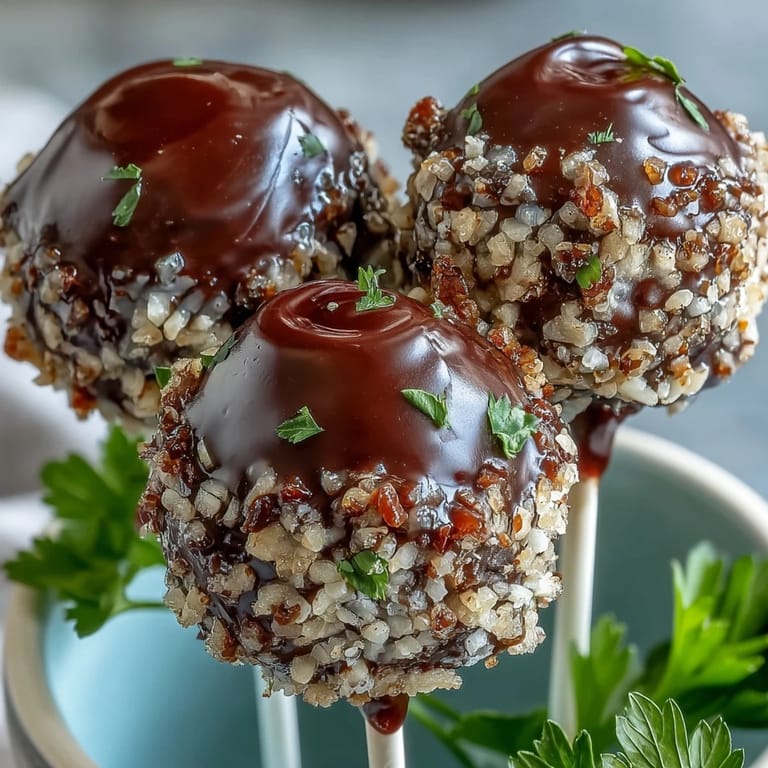
 These little pots of gold have become my St. Patrick's Day tradition, and I love watching people's faces when they realize something this charming is actually homemade. They're proof that impressive desserts don't need to be complicated, just thoughtful.
Recipe FAQs
- → How do I prevent cake pops from falling off the sticks?
Dip the stick tip in melted candy before inserting it into the cake ball, then chill to help the connection set firmly.
- → What is the best way to achieve a smooth candy coating?
Melt the candy melts gently over low heat and dip the chilled cake balls quickly, letting excess drip off before standing them upright to harden.
- → Can I add different decorations to these treats?
Yes, you can use fondant shapes, colored sprinkles, or pipe accents with melted candy melts for added detail and color.
- → How should I store these confections to keep them fresh?
Keep them in an airtight container at room temperature for up to three days to maintain texture and flavor.
- → Is it possible to make these gluten-free?
Absolutely, substitute gluten-free cake mix and verify all decorative elements are gluten-free to accommodate dietary needs.